null
Tile flooring is an incredibly versatile flooring option because it is available in such a wide selection of colors, patterns, designs, materials, shapes, and sizes. This allows you to truly create your own look in any room of your home.
Tile is ideal in rooms prone to moisture, such as kitchens, bathrooms, laundry rooms, and mudrooms, because it is waterproof, but you can use it through your entire home. Tile is a sturdy flooring that is easy to clean.
Installing your own tile flooring can seem challenging at first. It takes time and precision to lay tile beautifully. In addition to the time it takes to prepare and install the flooring, you'll have to allow time for the mortar to set and the grout to dry. So, you will not be able to use your floor immediately.
It is important to note that the way you install wall tile, such as in showers or backsplashes, is different from flooring. So even if you've installed wall tile before, it's a good idea to review the steps for installing floor tile.
In most instances, it's a good idea to leave the installation of tile to professionals. But if you enjoy your own home renovation projects, or you need to save money, you can install your own tile flooring beautifully.
Before installing your tile flooring

Just like with all flooring installation projects, you will need to take time to prepare. Plan for your tile installation to take you several days to complete. Your subfloors must be able to support tile, mortar, grout, and any furniture once the project is complete. If they are not, you will need to factor work on your subfloors into cost and labor required to complete your project. You will need to make sure you have all the materials and tools you'll need to install tile floors.
Gather your tools
When working with tile you will need several tools to ensure you lay your tile as beautifully as a professional.
You will need:- Tile Cutter
- Tile Nippers or a Wet Saw
- Tile Trowel
- Tile Saw
- Chisel
- Floor Scraper
- Level
- Rubber Mallet
- Utility Knife
- Carpenters Square
- Grout Float
- Drill
- Drill Mixer
- Caulk Gun
- Tape Measure
- Chalk Reel & Chalk
- Hammer
- Nail Set
- Sponge
- Buckets
- Eye Protection
- Work Gloves
- Cleaning Gloves
- Knee Pads
- Safety Mask
- Tile Hole Saw (Optional)
- Nail Gun (Optional)
Prepare for installation
Measure the size of your room to determine how much tile and materials you will need to purchase. When purchasing tile, you will want approximately 10% more to ensure you have enough to complete the job. In addition to the tile itself, you will need several other materials to complete the job.
You will need:- Tile Membrane
- Waterproof Membrane Tape
- Tile Spacers
- Thin-set Mortar
- Grout
- Caulk
- Grout Sealer
- Cleaning Cloths
- Grout Haze Remover
- Drop Cloth
- Leveling Compound
- Water-resistant backer board (for plywood subfloors)
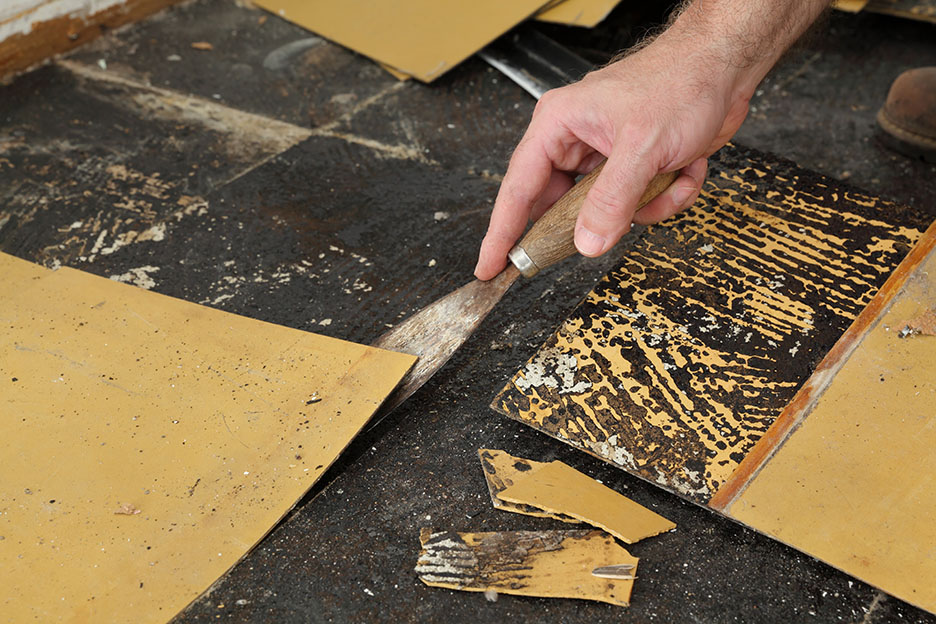
Once you have all your materials and tools on hand, you will need to remove your old flooring and prepare your subfloors. When installing in the bathroom, remove the toilet and your vanity. Make sure to address any dips, cracks, or uneven places in the subfloor that would prevent you from installing your tile properly. Clean your subfloors of any dirt and debris. For plywood subfloors, you will first need to install the water-resistant backer board as your underlayment. Concrete subfloors don't typically need a backer board.
Installing your tile floors

Once your subfloor is ready, you can begin your tile installation. It is a good idea to read your manufacturer's instructions before beginning your installation project.
Test the layout
Find the center of your room by measuring the four walls for their midpoints. Snap chalk lines from each midpoint of two opposite walls. Where the lines intersect is your midpoint. Make sure your lines are square. If the room is not square, which is common, adjust your lines so the tiles will not look off-center or unbalanced.
Mix tile from different boxes to ensure your color is consistent through the entire room. If you are using a patterned tile, there may be arrows on the back to ensure the design aligns correctly. Make sure you lay all the tiles with the arrow pointing in the correct direction.
Beginning at the center point, working outward, dry fit your tile to check your layout, utilizing tile spacers to make sure your expansion gaps are correct. Be sure to leave a ¼-inch gap between the edges to allow for expansion. If the space at the end of the room is less than a third of the tile, adjust your chalk lines so that the space on each side of the room can accommodate half a tile.
Prepare the thin-set mortar
Once you've finalized your layout, you will need to prepare your thin-set mortar, a bonding agent used to attach tiles to your backer board or concrete subfloor. Mix the mortar per the instructions on the package, using your drill with a mixing arm/paddle.
Remember that mortars must be allowed to set for 5-10 minutes before they can be used. But you also do not want to mix too large of a batch since it will begin to harden after it has been out too long. Make sure you clean the paddle or mixing arm each time you use it so the mortar does not harden on it. Be sure to spray the backer board with water before spreading the mortar to prevent it from drying too quickly.
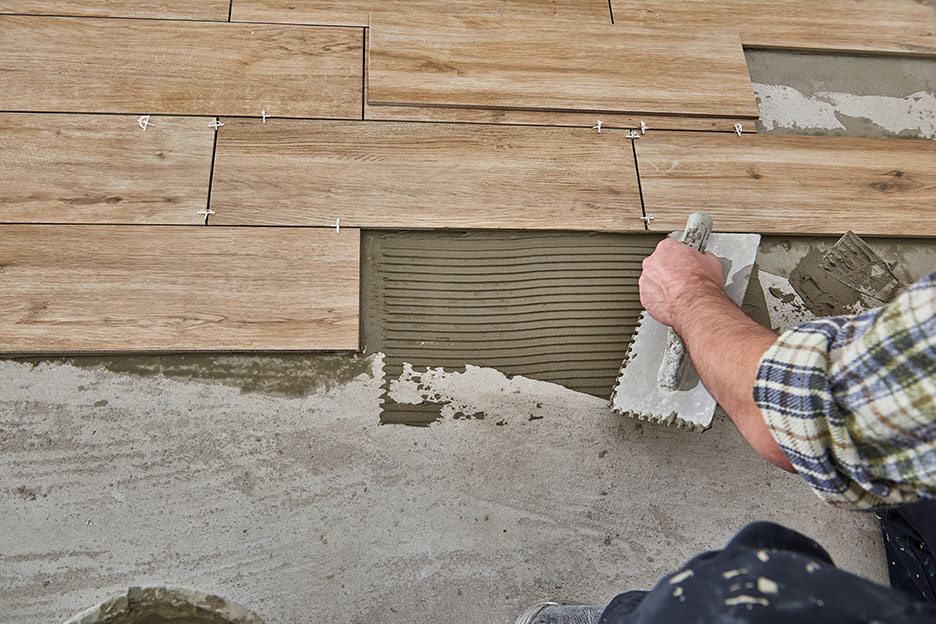
Use your tile trowel to scoop out a large amount of mortar from your bucket. Spread the mortar with the notched side of the trowel at approximately a 45-degree angle. Work in small sections to prevent the mortar from drying out before you get the tile placed. Avoid circular motions or swirling patterns.
Begin laying tile
Lay your first tile, using your chalk lines as reference. Place two spacers along the side of the tile where you will add your next tile to ensure equal spacing between your tiles. Always place your spacers in a position so they stick up and out to prevent them from becoming embedded in the mortar.
Place your second tile by lining up the edges and corners, then laying it down.
If you get thin-set mortar on your tile as you work, make sure to wipe them immediately with a wet sponge to prevent the mortar from hardening. After you've placed several tiles, place a level or 2x4 on them and tap lightly with a rubber mallet to ensure you are laying the tiles level.
Every so often step back and check your alignment so you can make any necessary adjustments before your mortar starts to harden.
Work through the rest of your room, remembering to leave a ¼ inch gap around the edge of the room to allow for expansion. Cut tile with your wet saw or tile nipper, as needed.
You should also lay tile in a way so that you can exit your room without stepping on your newly laid tile. Mortar takes about 24 hours to completely harden; you cannot walk on it until it's dry.
Apply the grout
Once all your tile has been laid and your mortar has set, you are ready to apply your grout. Remove all the spacers, and mix your grout according to the directions. Using a rubber grout float to spread the grout in arcs. Press grout into the joints to fill them completely. Remove excess by using the grout float at a 45-degree angle and work at an angle to avoid dipping into the joints.
Do not walk on the grout for approximately 12 hours to allow it to set. For several days, you will need to mist the grout to allow it to cure slowly.
Fill any gaps between the tile and wall with caulk to avoid water from getting under the tile.
It is important to clean any grout off your tile with a damp sponge to prevent your tile from looking hazy. Do not press your sponge into the gaps. It will take some time to clean all the grout off the tiles, but be sure to do it before the grout hardens. Work with clean sponges and water, changing it frequently.
Seal your grout
Use a grout sealer to protect your grout from stains, mildew, and mold. Sealing your grout is essential to keeping your tile looking new. Check the grout sealer directions and be extra careful to only use it on the grout. You'll want to wipe up any excess quickly. In most cases, you'll want to wait three days to a few weeks before using the sealer to allow the grout to cure.
After installing your tile flooring

Once everything has had time to cure and settle, you are ready to replace all your fixtures and baseboards and begin using your new tile floors.
Your grout will need to be resealed every few years to prevent water damage. Tile provides you with an easy-to-clean flooring surface that can last you for years with the right care.