How to Install Vinyl Flooring
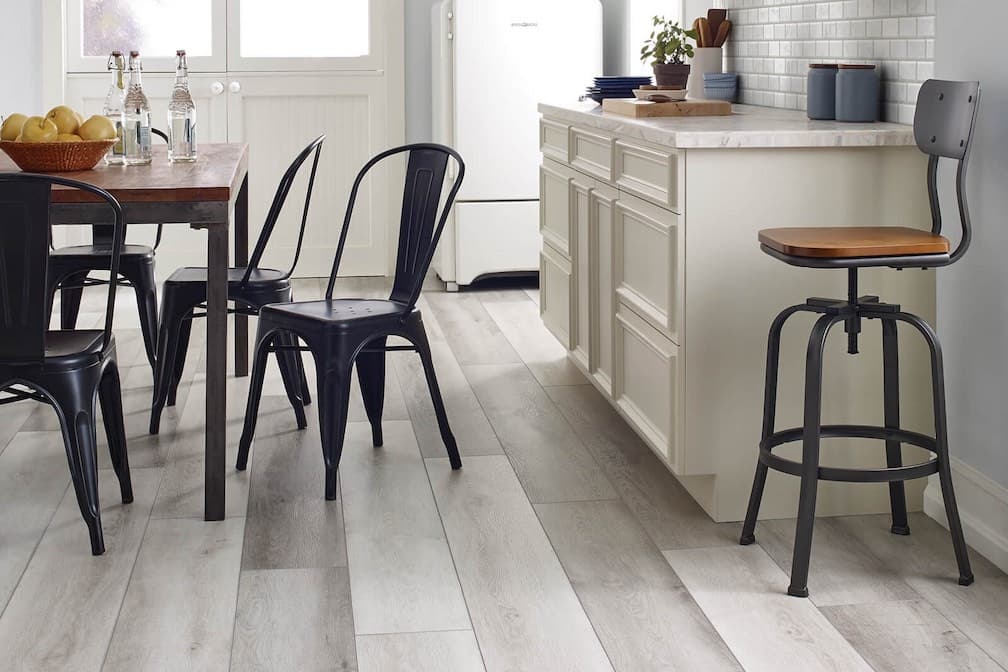
Vinyl Flooring is attractive and stylish, available in a wide variety of colors, patterns, and designs. Made to mimic the natural beauty of hardwood or stone flooring, vinyl flooring is also durable and versatile. Vinyl is more affordable and easier to install than wood or tile, making it a great flooring option for people who enjoy doing their own home improvement projects or for the budget conscious.
Vinyl can be installed in any room of your home, but since it is waterproof, it is ideal in your kitchen, bathroom, laundry room, or even your basement. It can also be installed over many existing floors, including concrete, wood, or even another vinyl floor.
Learn more about how to install your vinyl flooring like a professional, so they look beautiful and pristine from day one.
Before installing your vinyl floors

Before you begin your vinyl installation you'll need to make sure you have all the materials and tools to do the job. Choose which type of vinyl flooring that is best for your style and your needs.
Vinyl plank flooring is typically either installed by one of three methods, click lock, glue down, or self-adhesive. Each installation method can be done by a homeowner, even if they have never installed flooring before:
Click lock vinyl plank flooring
Has tongue and groove joints that easily snap together. Click lock vinyl plank flooring creates a floating floor and doesn't need an adhesive.
Glue down vinyl plank flooring
Requires adhesive spread along the subfloor. Then vinyl planks are laid on top.
Self-adhesive vinyl flooring
Comes with adhesive on the bottom of the flooring. It creates a bond to the subfloor when it is pressed into place.
a. Gather Your Tools
Next, you'll need your tools required for the type of installation method you'll be using. Fortunately, the installation of vinyl flooring requires relatively few tools. You'll need:
- Utility Knife. It is recommended that you score the vinyl with a utility knife to snap it. You can use a vinyl cutter, or a jigsaw or miter saw for more complex cuts.
- Measuring Tape.
- Marking Chalk.
- Straightedge.
- Wet/Dry Vacuum.
- Floor adhesive and a trowel. (For glue-down vinyl flooring.)
- Pry bar. (If your room has a baseboard or molding that needs to be removed temporarily.)
- Knee Pads. (Not necessary, but definitely recommended!)
b. Prepare for installation
You will then need to prepare your room for the installation.
i. Measure Your RoomBegin by measuring the size of your room to determine how much vinyl flooring you'll need to purchase. You'll purchase slightly more flooring than you measure for to ensure you have enough planks for areas where you need to cut and to have on hand for any future repairs.
ii. Remove old flooring (if old flooring exists) and prepare your subfloorsRemove any old flooring and prepare your subfloors, if needed. Subfloors should be free of cracks and clean to ensure an even floor. Depending on your subfloors, you may need a moisture barrier underlayment.
iii. Remove baseboard / moldingRemove your baseboards or molding. If you're installing in a bathroom, you'll need to remove your toilet to install flooring around it.
iv. Acclimate your Vinyl Floors!Make sure you acclimate your unopened vinyl for 48 hours before beginning your installation to avoid any warping or gaps.
Installing your vinyl flooring

It is best to read your manufacturer's information for best practices for installation before you begin your project.
You will install your vinyl flooring perpendicular to the longest wall. Not only does this look best, but it will reduce the amount of cutting, which in turn, reduces waste and the possibility of error.
No matter what type of vinyl flooring you're using, you will need to leave a gap around the walls to allow for expansion. Usually, the gap should be about a ¼ inch, but consult your manufacturers guide for the best results. If you do not leave a gap, and your floor expands, it will cause warping or buckling.
Make sure you stagger your joints at least 6 inches as you begin each new row, cutting your first and last vinyl plank of each row as needed to ensure 6 inches.
If you have to install vinyl flooring around unusual shapes, trace the shape onto a piece of paper and then use that as your stencil to cut the vinyl.
Click lock vinyl flooring installation
If you're using vinyl plank with a click lock installation method, you will need to cut the tongue off the first row of planks. Place the first plank with the cut side toward the wall, leaving a gap to allow for expansion.
After laying the first plank, install the second plank by holding it at an angle and sliding its tongue edge into the first planks groove edge. As you lower the second plank into place, they will click together. Continue this for the remainder of the row, trimming the last plank if needed.
For the second row, use the same method attaching them side by side, as well as to the previous row. Continue for the rest of the room. Make sure you leave the space recommended by the manufacturer to allow for expansion.
You can use a rubber mallet with a tapping block to protect your flooring to gently tap planks in place, if needed.
When your room is complete, replace the baseboard.
Glue down vinyl flooring installation
When installing glue down vinyl flooring, you will start at the center of the room. Find the center of your room and use your chalk and straightedge to mark a line. Mark a second line at a right angle from the first, dividing your room into four sections. Make sure your last plank will not need to be trimmed more than half its original width, and adjust your center as needed to accommodate.
Use a trowel to apply the adhesive recommended by your flooring manufacturer, starting at the center, and working your way outward. You'll need to allow the adhesive to set so that it is tacky but hasn't dried to clear yet. Place the first plank with its short edge along the two chalk lines, then continue to lay the planks by the row, working along the parallel chalk line. Make sure each plank is laid tight against the previous one. If you happen to get adhesive on the top of the flooring, wipe it off immediately before it has a chance to dry.
Trim the planks along the wall as needed to allow a space for expansion, as recommended by the manufacturer.
When the room is complete, replace your baseboards.
Self-adhesive vinyl flooring installation
When laying self-adhesive vinyl flooring, sometimes referred to as peel and stick vinyl, you will begin along the longest wall, leaving the recommended gap to allow for expansion.
To install, peel the adhesive backing off the plank and stick it to the subfloor. Make sure you place each new plank tightly against the previous one to prevent gaps. Once you have completed your first row, stagger the second row at least six inches and continue through the entire room.
When you are finished with your floors, replace the baseboards.
After installing your vinyl flooring
After installing your vinyl flooring, you may want to open the windows or run a fan to remove smells associated with the installation or new floors.
With click lock vinyl flooring you can walk on the floors immediately, but it's still good practice to stay off them for several hours to a day. With glue down vinyl flooring, you will need to wait 24-48 hours before walking on your floors or placing furniture on them to allow them to settle and the seams to seal. If you've used adhesive the flooring needs a day to acclimate.
After that time, you'll be free to enjoy your new floors!
Added to Cart
You get a FREE product!
Bonus Product
Free
Qty: